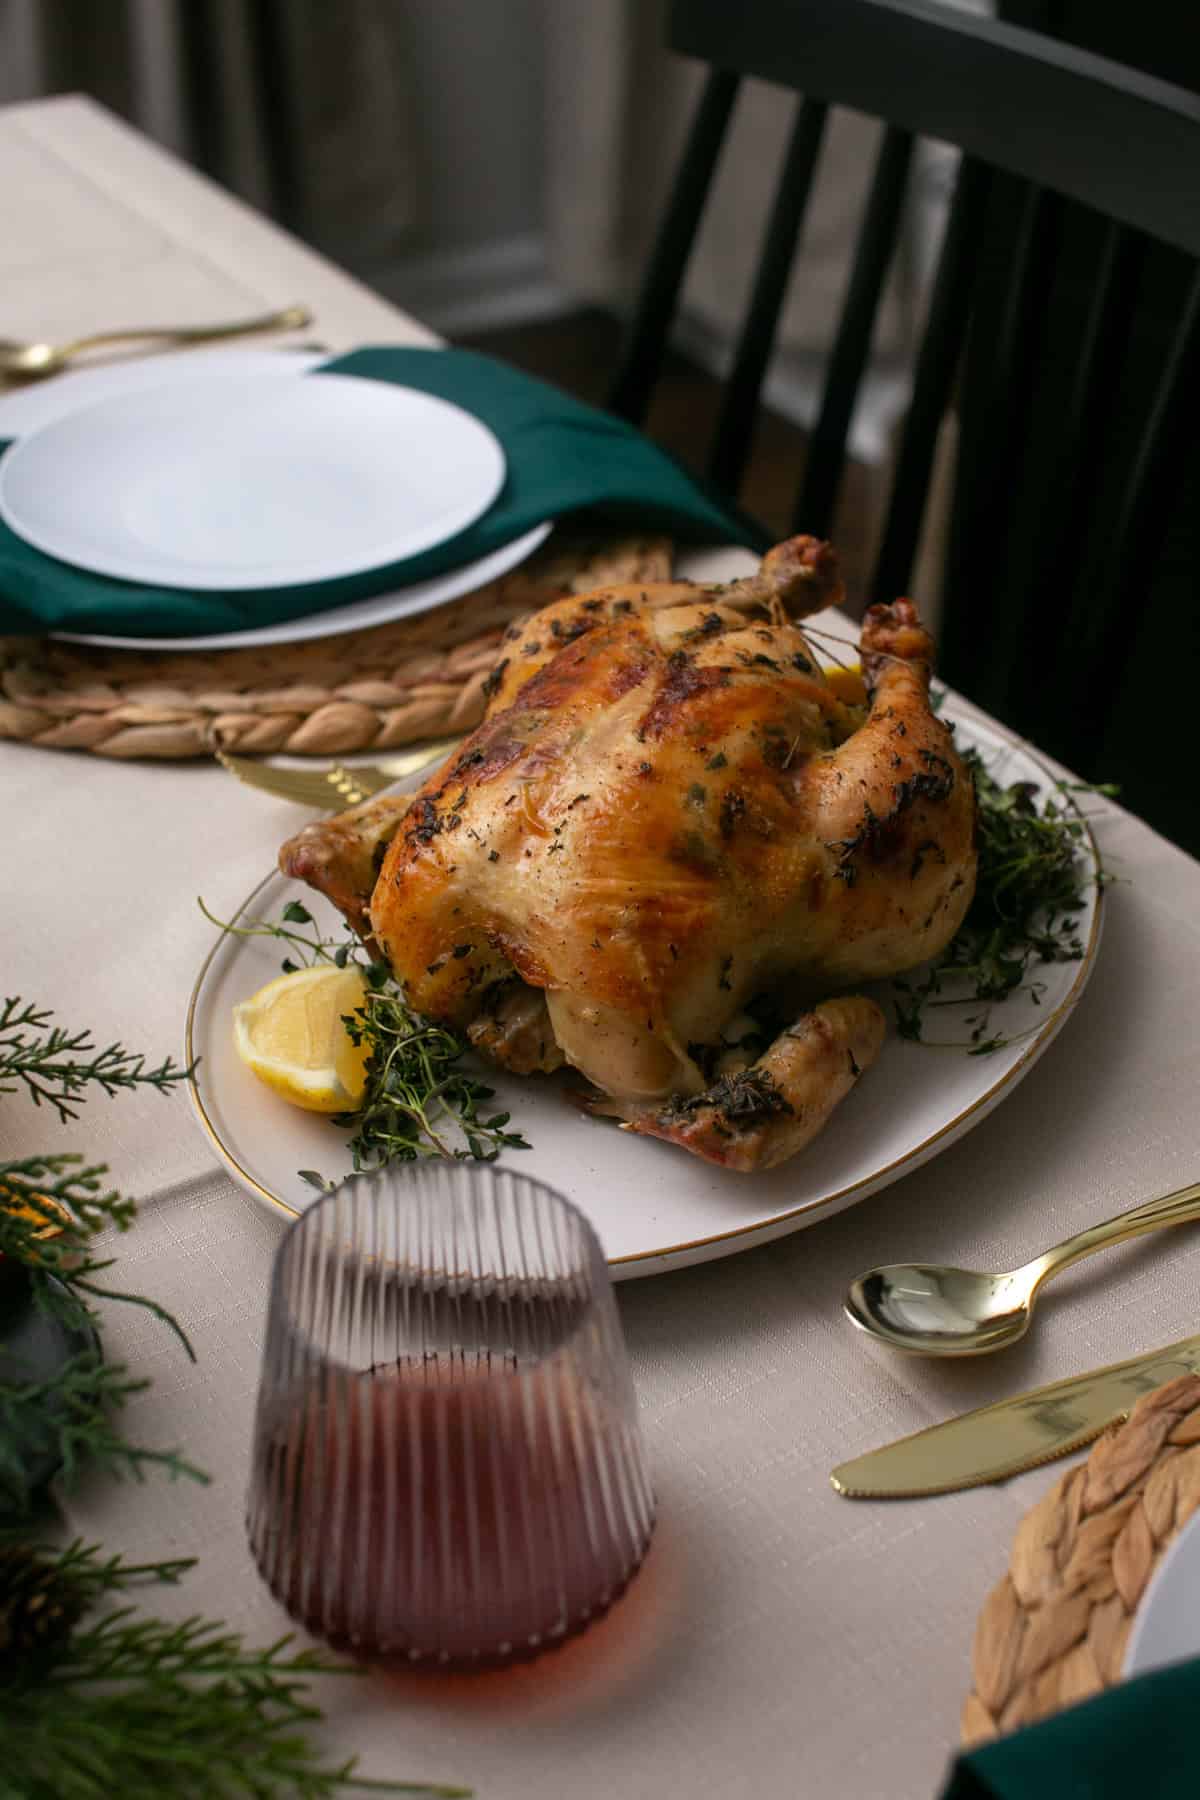
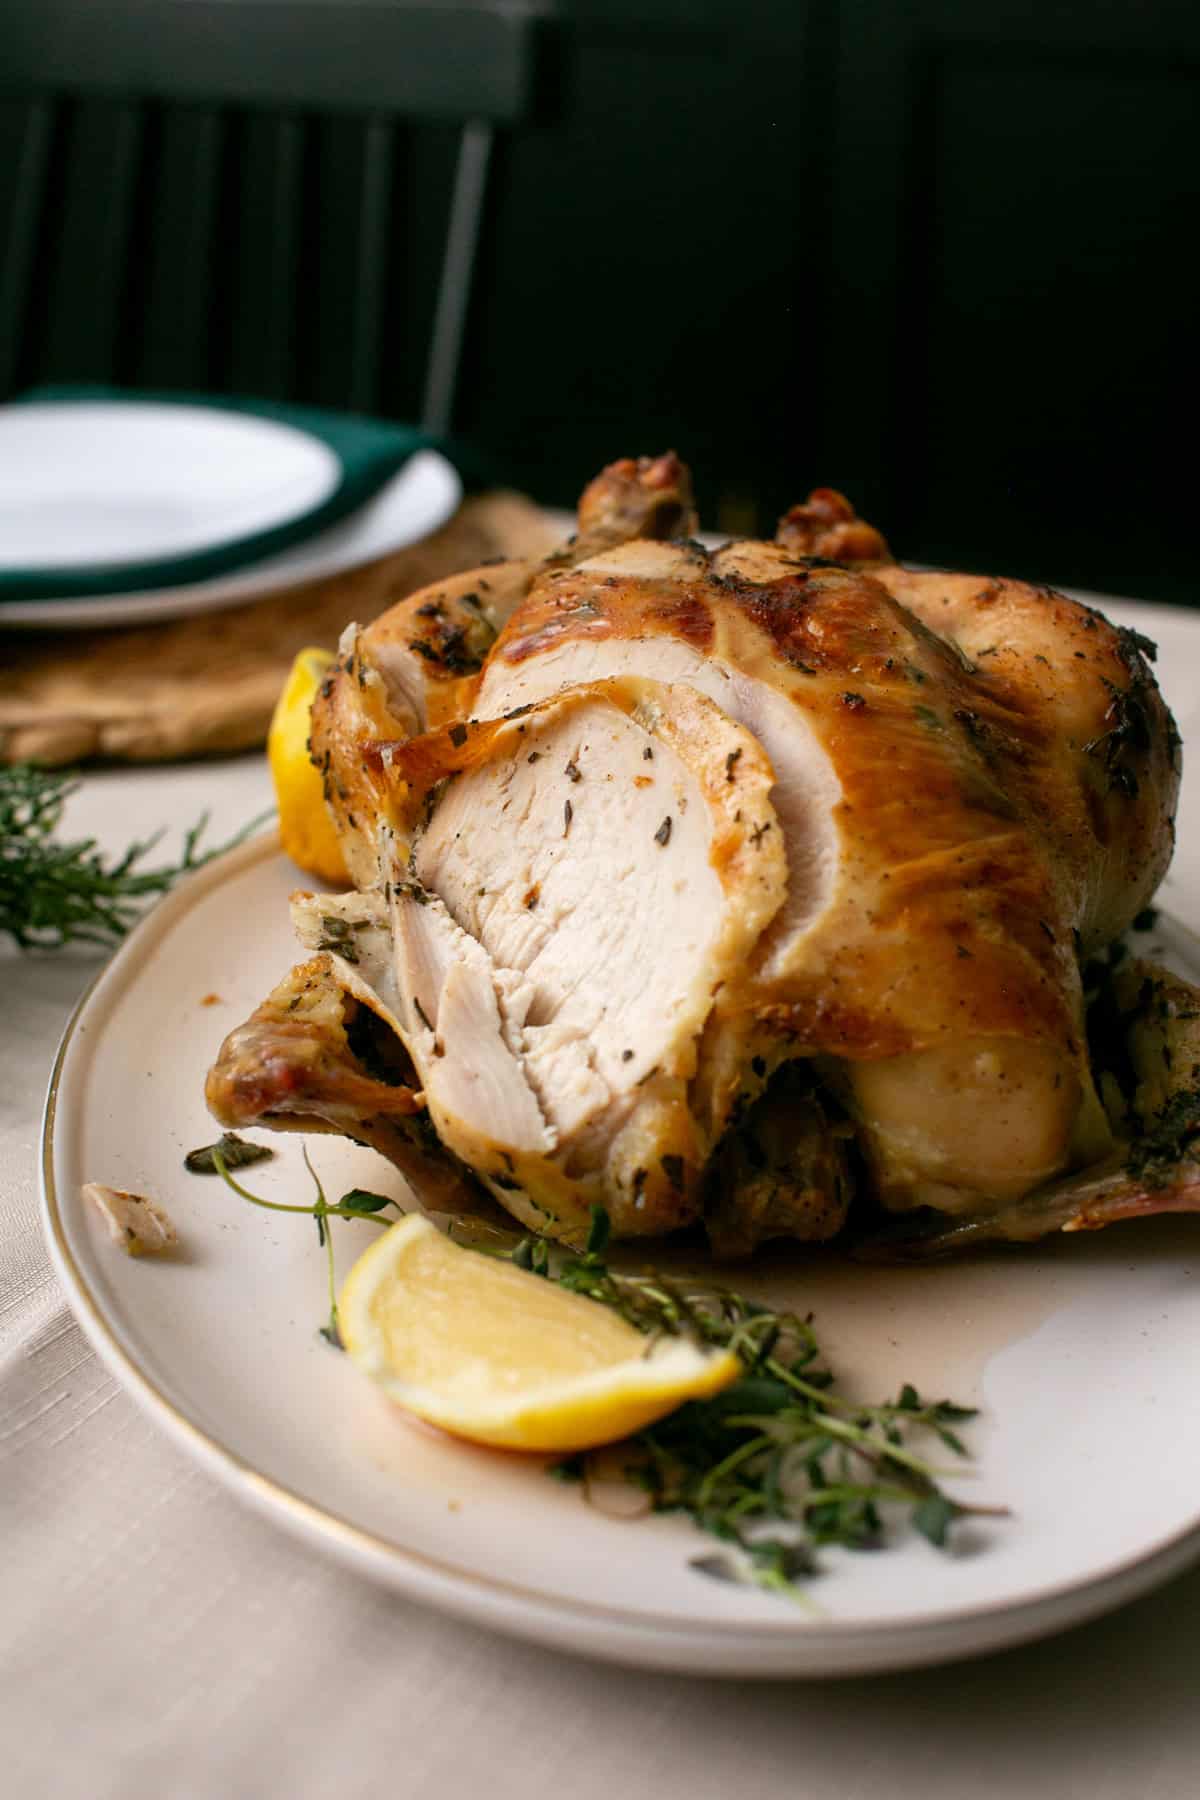
Turkey day is almost here, which means you need this Lemon and Sage Dry-Brined Turkey Recipe! Dry brining your turkey adds delicious flavor and creates crispy skin without drying out your turkey! Keep reading to find out my step-by-step process!

Some might argue that the turkey is the most important part of Thanksgiving, while others are here for the sides! Either way, I think we can all agree that making the turkey can be very stressful!
In this post, I have broken down the steps to prepare your turkey for roasting! A lot of times, the prep can be just as important as making the turkey!
After you finish this post, go ahead and read my Lemon and Sage Butter Roasted Turkey for part 2!
Jump to:
Why You'll Love This Recipe
This Lemon and Sage Dry-Brined Turkey Recipe is full of delicious flavor but couldn't be easier to do! This will help create a moist turkey with delicious crispy skin!
Dry Brine or Wet Brine
There's two different types of brine: a dry brine or a wet brine! Both are essentially adding flavor to the turkey, however the amount of steps change depending on which one you use!
A dry brine uses salt and herbs to infuse flavor into the turkey! A wet brine is the process of soaking a turkey into water that's been flavored with salt, herbs, and other flavorings! You really can't go wrong either way!
However, I prefer to use a salt dry-brine because I think there's less mess involved than using a wet-brine! Look at your kitchen space and fridge space to make the decision on whether to wet or dry brine!
Why Salt Makes the Best Turkey Skin
I know it seems kind of weird to add a bunch of salt to the turkey before you bake it! The first time I did this, I remember being terrified that the turkey was going to be too salty!
The salt is important for two reasons: it's going to start to break down the proteins in the turkey and help add flavor!
Salt works to tenderize the turkey by breaking down the proteins in the meat creating a tender slice of turkey! It also helps draw out extra moisture, then infusing the meat with the flavor of the salt brine! This helps infuse the turkey with the lemon, herby goodness of our salt brine!

Ingredients

- Salt
- Fresh Rosemary
- Fresh Thyme
- Fresh Sage
- Lemon
- Black Pepper
See recipe below for all the details!
Step-By-Step Instructions

- Step 1: Add lemon zest to salt.

- Step 2: Then chop up fresh herbs.

- Step 3: Add herbs to the salt mixture.
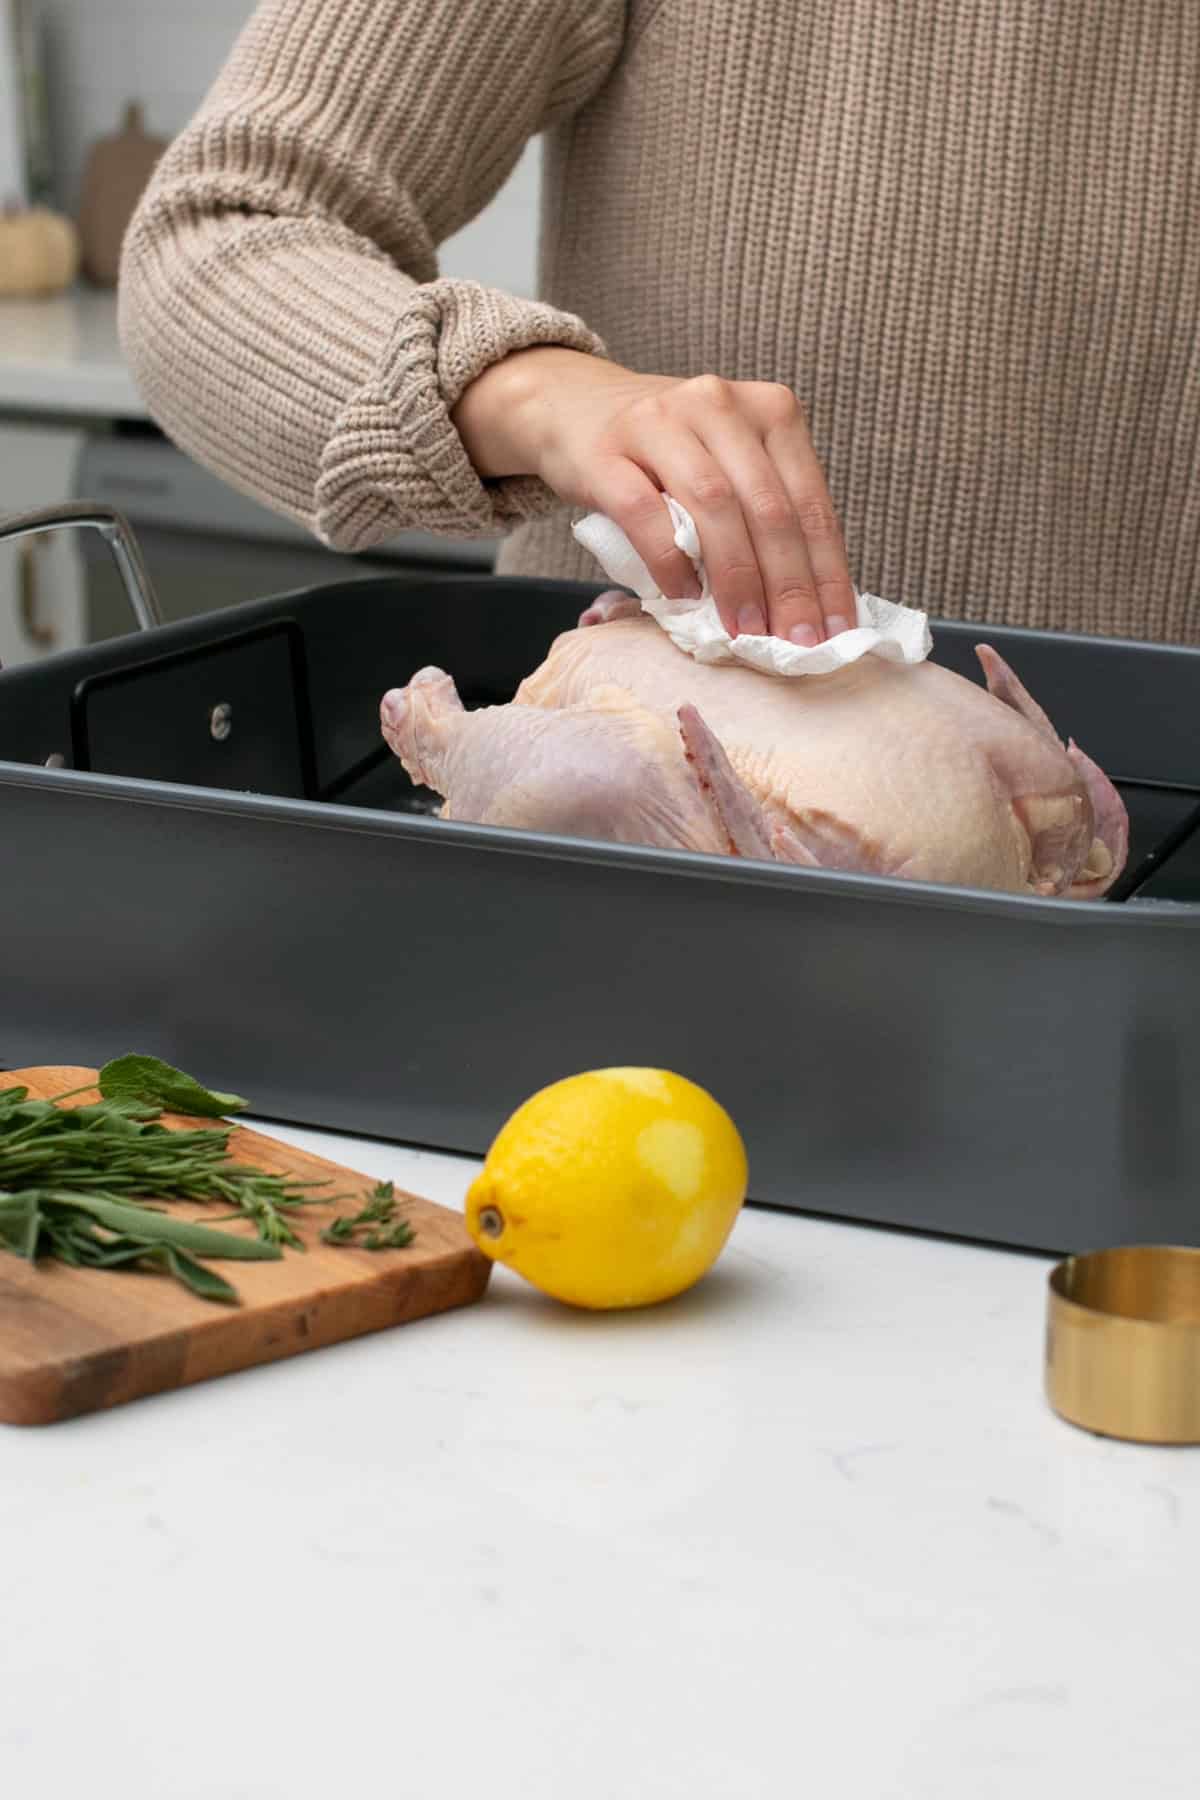
- Step 4: Pat the turkey (or chicken) dry.
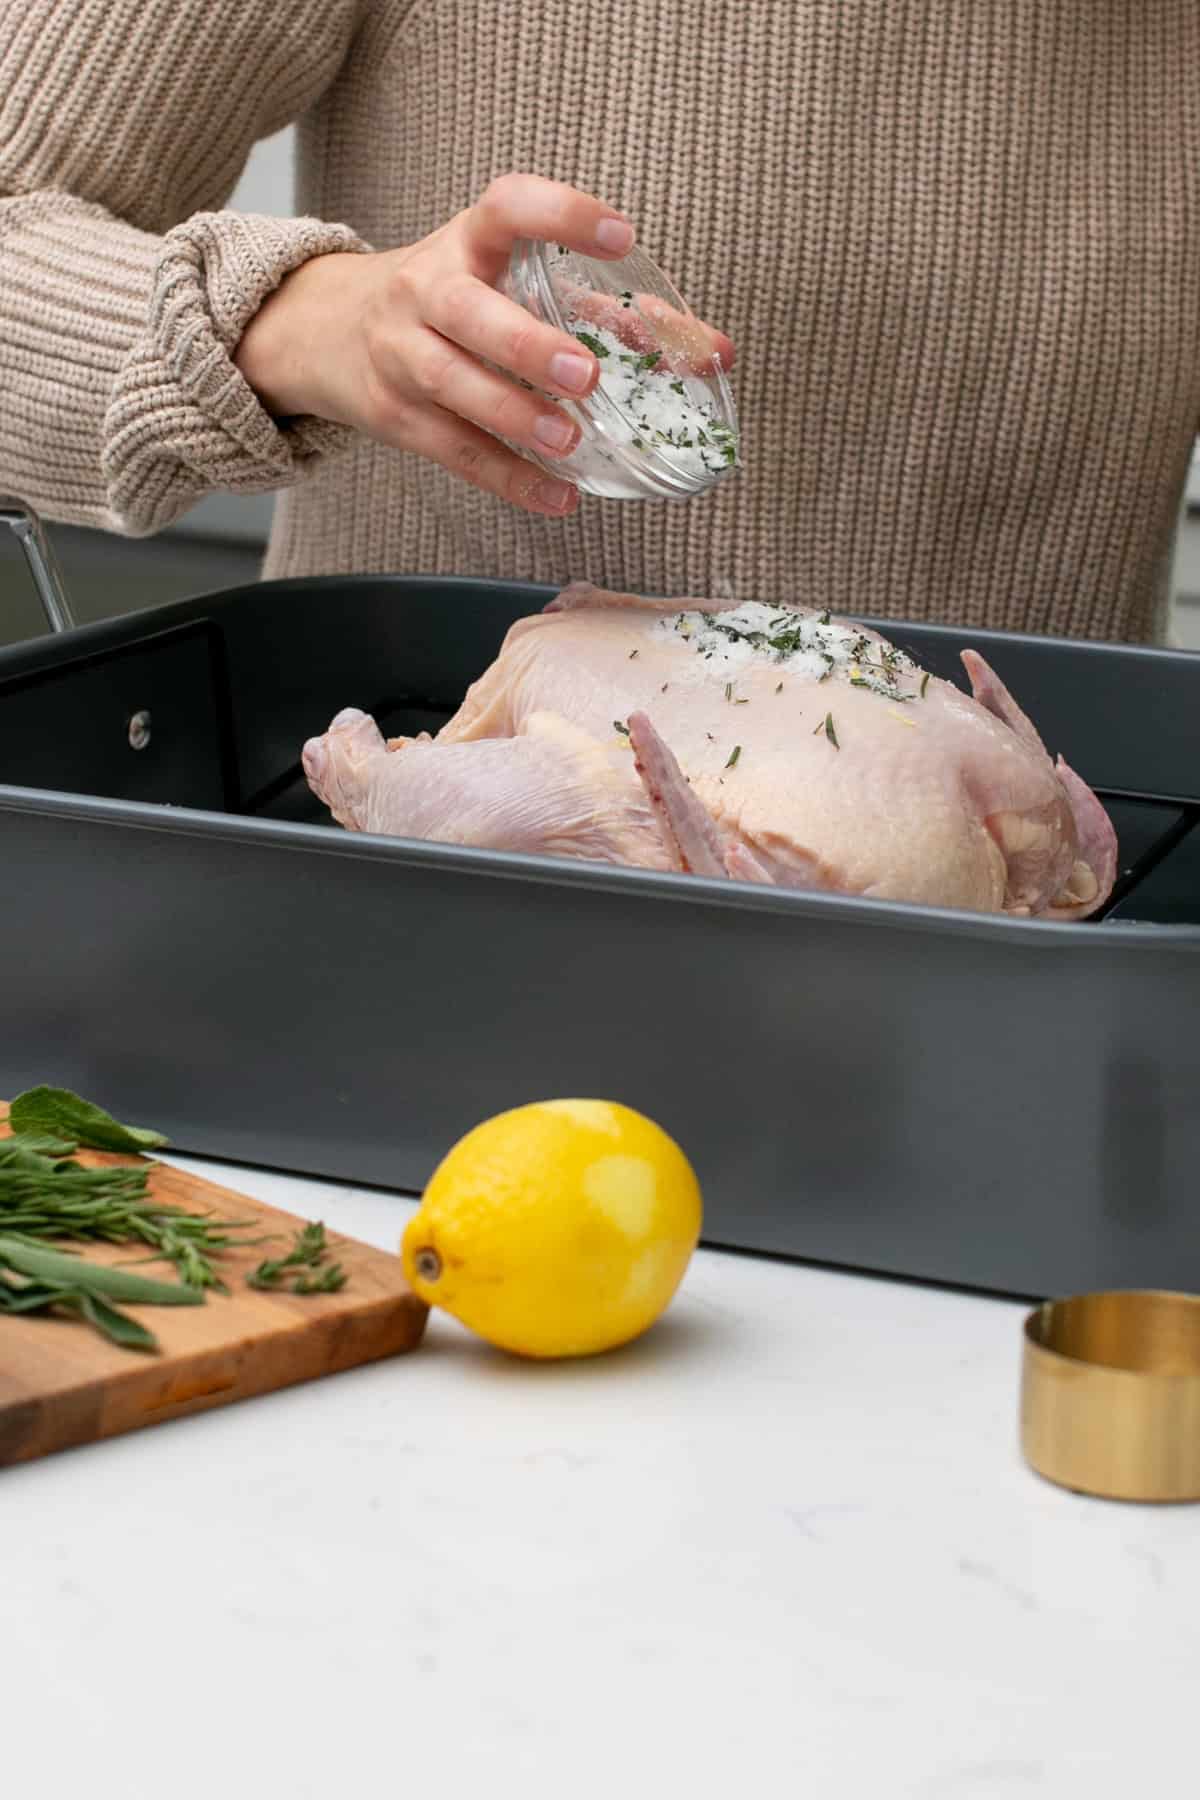
- Step 5: Add salt on top.
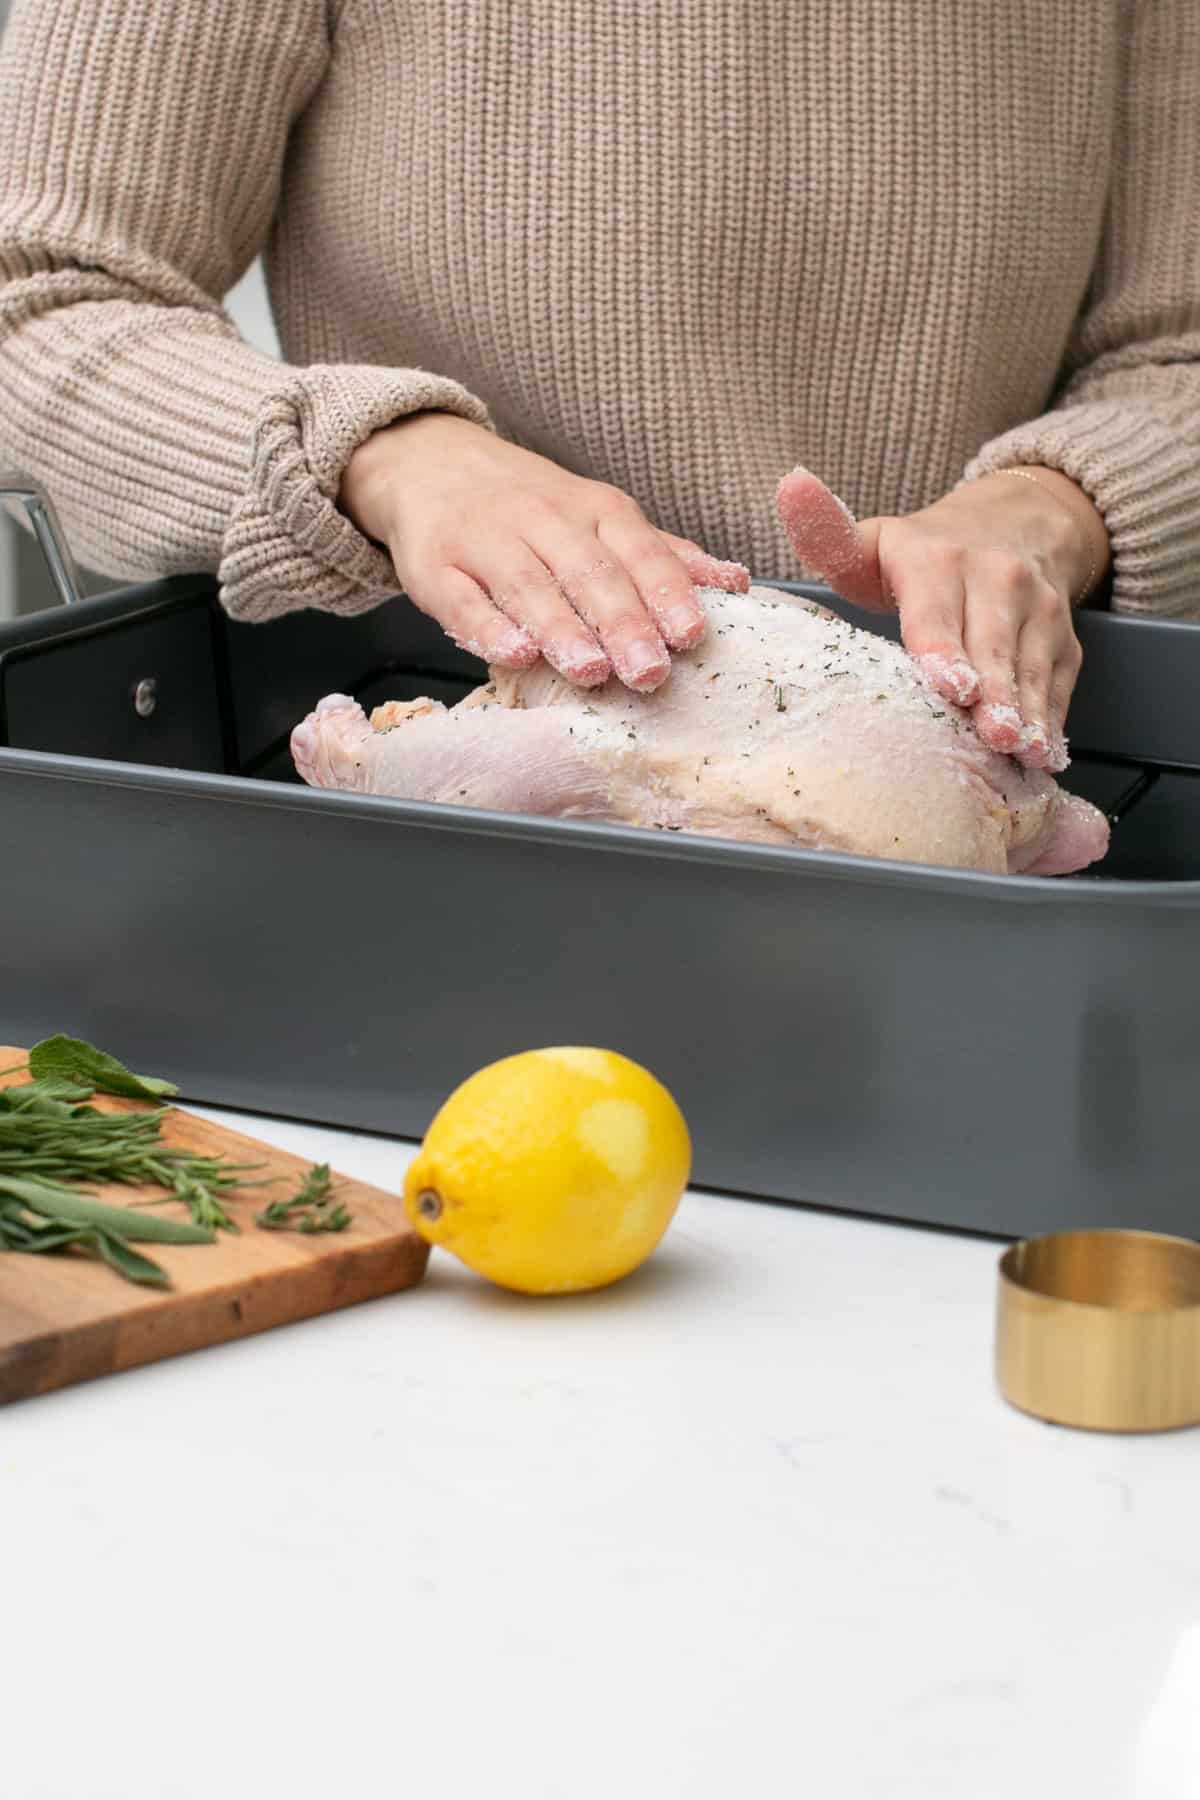
- Step 6: Massage salt into the whole surface, then cover and place in the fridge!
Hint: I think it's easiest to add the brine to the turkey when it's already in it's roasting pan! This way you don't have to move it again tomorrow!
Variations and Substitutions
This Lemon and Sage Dry-Brined Turkey Recipe has been my go-to turkey recipe for the past few years! Here are some other ways to enhance the flavor:
- Sugar - add a little teaspoon of sugar to add a touch of sweetness!
- Citrus - add orange zest instead of lemon for a different citrus vibe!
- Spice - add a little bit of chili powder to the dry brine to bump up the heat!
Equipment
Roasting Pan - When it comes to the dry brine, you really only need a bowl to mix everything in and roasting pan to hold the turkey! That's part of the reason that I love using a dry brine versus a wet brine! Here is a roasting pan similar to what I use!
Top tip
This is the time to add a boost of flavor directly to the turkey, so make sure you get the salt mixture over every little inch of this turkey! Use every last piece of that salt mixture!

Timeline
To impact the most flavor on your turkey, I suggest doing this the night before! I have heard of some people dry brining their turkey 48 hours before, but the night before has always worked out well for me!
Cover your turkey in the dry brine, making sure to get every little extra covered! Then, store uncovered in the fridge overnight!
FAQ
Dry brining is the process of using salt to break down the protein in the meat to help create a moist and flavorful turkey!
Leaving the turkey uncovered in the fridge overnight allows the skin to dry out which helps the skin crisp up in the oven!
Nope! You can use dried herbs as well!
Technically, you don't have to dry-brine your turkey! However, this is a great tool to adding tons of flavor to your turkey that I highly recommend you take advantage of!
Cheers!
-Holly Michelle
If you loved this recipe, leave a five star rating below! Thanks for being here! Go follow on Instagram so you never miss a recipe!

Lemon and Sage Dry-Brined Turkey Recipe
Equipment
- Roasting Pan
Ingredients
- ¼ cup Salt
- ½ tablespoon Fresh Rosemary
- ½ tablespoon Fresh Thyme
- ½ tablespoon Fresh Sage
- 1 Lemon zested
- 1 teaspoon Black Pepper
- 1 10-15 lb Turkey
Instructions
- Add your turkey to a large roasting pan, gently pat dry with paper towels. Remove anything on the inside of the turkey cavity.1 10-15 lb Turkey
- Chop up the sage, rosemary, and thyme. Set aside.½ tablespoon Fresh Rosemary, ½ tablespoon Fresh Thyme, ½ tablespoon Fresh Sage
- In a bowl, add salt and lemon zest. Massage together.¼ cup Salt, 1 Lemon
- Then add in herbs and black pepper. Stir together.1 teaspoon Black Pepper
- Generously pour the salt over the whole turkey. Be sure to massage the salt into the turkey!
- You can let this set for 12-24 hours! The night before Thanksgiving, keep the turkey uncovered in the fridge!
More Recipes To Try!
Looking for other recipes like this? Try these:



Leave a Reply